Step 1. Installing ZSH shell on your operating system
For Windows 10
Enabling WSL and installing Ubuntu.

- Make sure your windows is updated.
2. Then search for “Turn Windows features on or off” in the start menu.
3. Now you mark the “Windows Subsystem for Linux” and hit ok.
4. It will ask you to restart your system, so just do it.
5. Now you will have to install ubuntu from the windows store.
6. Just launch the ubuntu app and you are ready to go.
7. You have installed the linux now follow linux guide to continue
Installing ZSH shell for linux distros
- Install zsh with your package manager
sudo apt install zsh2. Make your default shell
chsh -s $(which zsh)3. Restart your terminal and you are ready to go (In linux ubuntu you may need to logout and login again)
4. If it’s asking for selecting an option press 0
Type echo $SHELL to verify the shell it should print /usr/bin/zsh
Further setup will be same for all Operating System.
For Mac OS X
If you are using latest version of MacOS which is Catalina. Then your default shell would be ZSH only. You will be seeing a % symbol on your terminal.
If you are not on MacOS Catalina
- Install ZSH through homebrew.
brew install zsh2. Make it your default shell
chsh -s /bin/zsh3. Restart your terminal and you are ready to go
4. If it’s asking for selecting an option press 0
Type echo $SHELL to verify the shell it should print /usr/bin/zsh
Installing Oh My Zsh
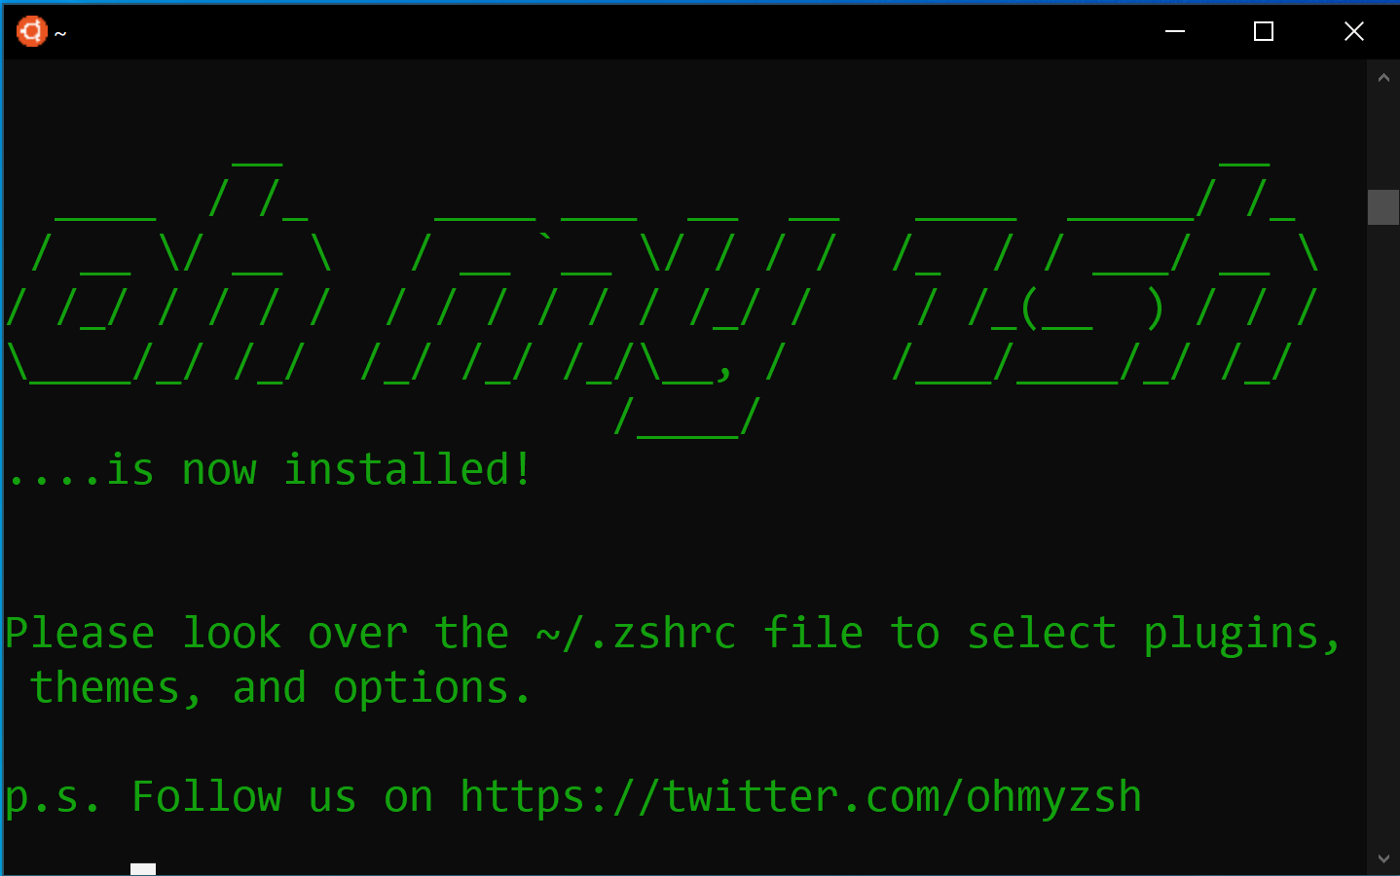
Just paste this command in your terminal and it will install Oh My Zsh.
sh -c "$(curl -fsSL https://raw.githubusercontent.com/robbyrussell/oh-my-zsh/master/tools/install.sh)"Install PowerLeve10K theme
We will clone the repository into the custom theme folder
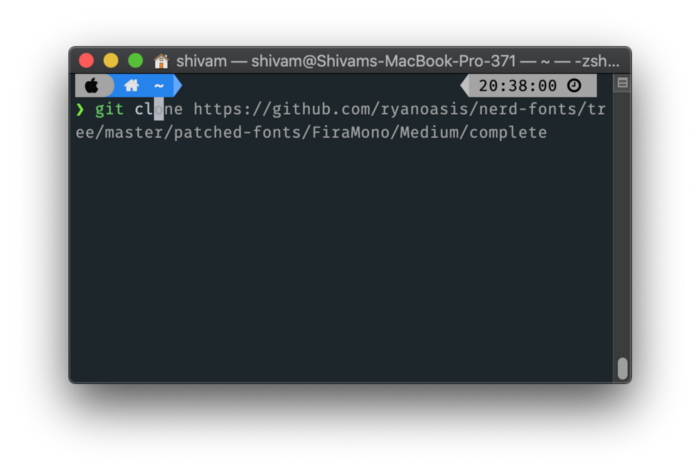
git clone https://github.com/romkatv/powerlevel10k.git $ZSH_CUSTOM/themes/powerlevel10kDownload and install Nerd Patched fonts

Download and install FuraMono Nerd Font. It’s best and works everywhere. For linux (Ubuntu) you will need the FiraMono otherwise your terminal may not show up the font.
You can get all the FuraMono fonts
You can also download other fonts which you like but make sure its patched with icons (Look for complete folder). If you can’t find it you can patch it yourself. But remember different fonts may not completely align and fit perfect everywhere.
Download Plugins for autosuggestion and syntax highlighting
git clone https://github.com/zsh-users/zsh-autosuggestions.git $ZSH_CUSTOM/plugins/zsh-autosuggestionsgit clone https://github.com/zsh-users/zsh-syntax-highlighting.git $ZSH_CUSTOM/plugins/zsh-syntax-highlightingNow edit your ~/.zshrc file to use the PowerLeve10K theme, Awesome Patched font, Autocorrection, Autosuggestion and Syntax highlighting.
You can use any editor you nano or vim. We will use micro here, It is a great editor which allows you to easily edit the files. You can easily install it by running this command sudo curl https://getmic.ro | bash
Or in linux you can try with snap
snap install micro --classicNow you can use it like
micro ~/.zshrcFind the ZSH_THME and replace it with
ZSH_THEME="powerlevel10k/powerlevel10k"Also add this line below to use Nerd Patched fonts
POWERLEVEL9K_MODE="nerdfont-complete"If you want to enable auto correction then find uncomment the line by removing # from
#ENABLE_CORRECTION="true"
//to this
ENABLE_CORRECTION="true"
Now we will add plugins so scroll down a little till you find
plugins=(git)And now add the plugins which we downloaded, like this
plugins=(git zsh-autosuggestions zsh-syntax-highlighting)Now we are done so save the file by pressing Ctrl+Q then hit Enter
We are almost done but not yet 🥳
Change your terminal font from preferences
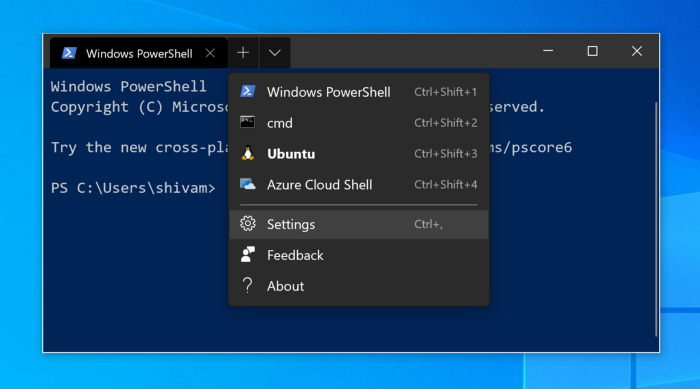
For Windows 10 you will have to install the Windows Terminal (Preview)
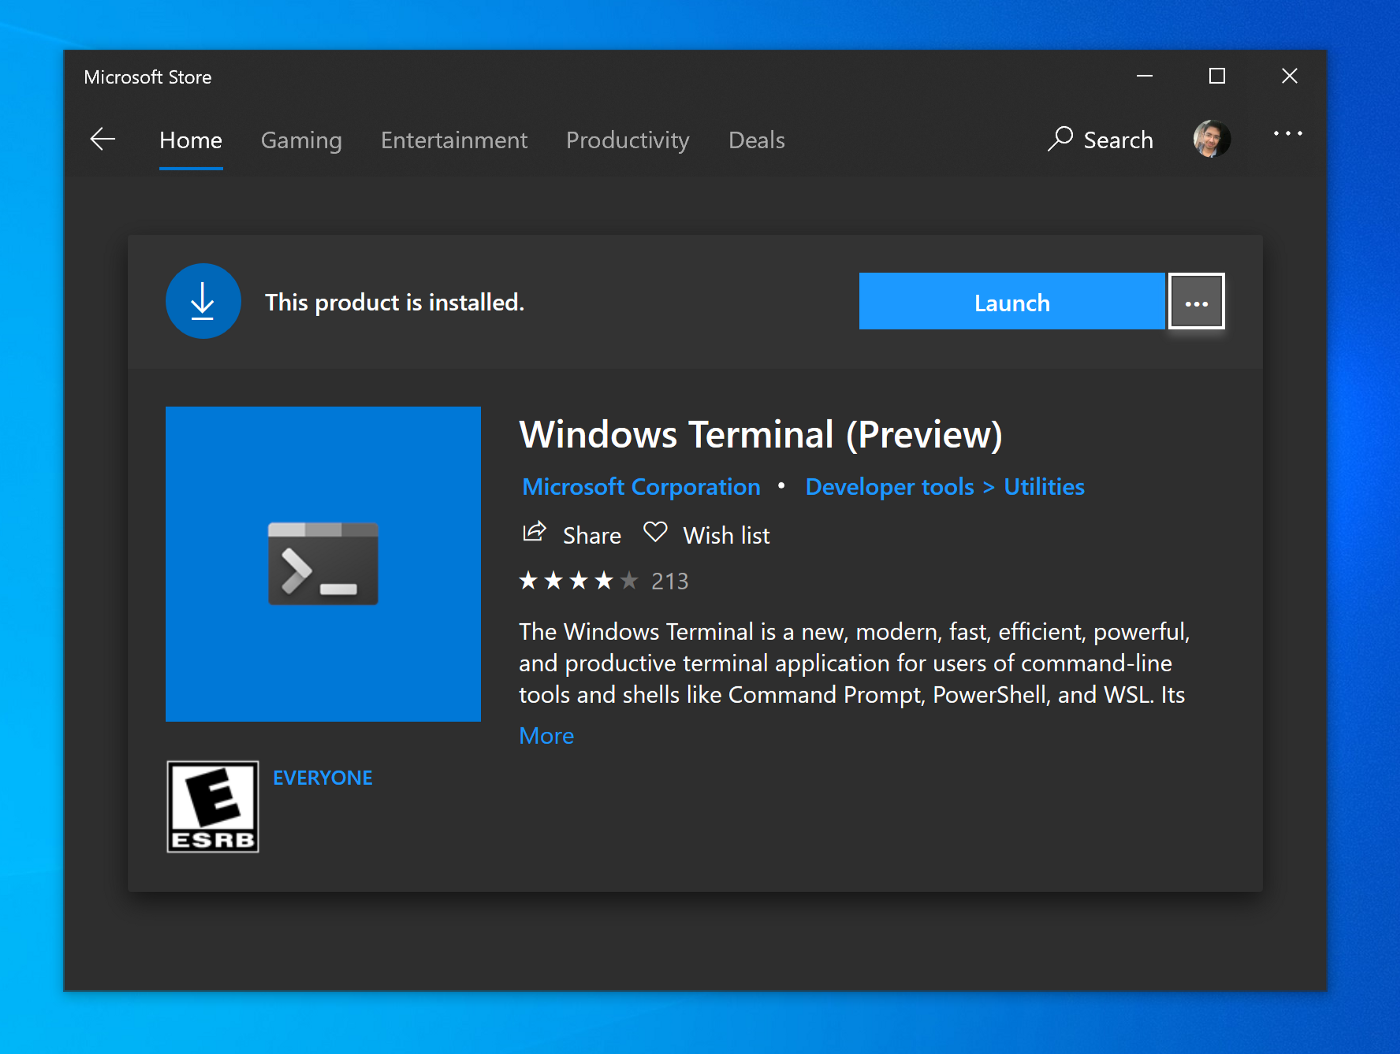
Once you installed it, just open it and you will see PowerShell shell. You need to go to settings by clicking on the dropdown. It will open a JSON setting file in notepad.
Now scroll down and try to find the name Ubuntu and add the font like this
"fontFace": "FuraMono Nerd Font",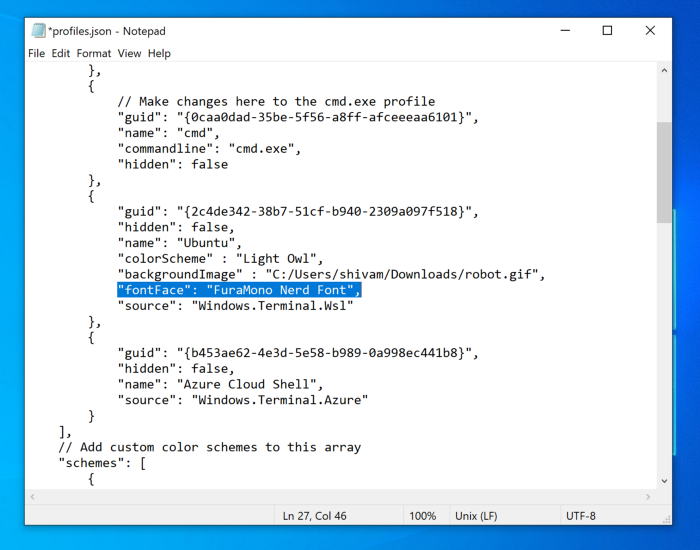
Now you need to save this file so just press Ctrl + S
Now you can open the Ubuntu terminal from the dropdown, it will ask you for the setup which you can easily do. We will look further
For Mac OS X users
Just go to the terminal preferences
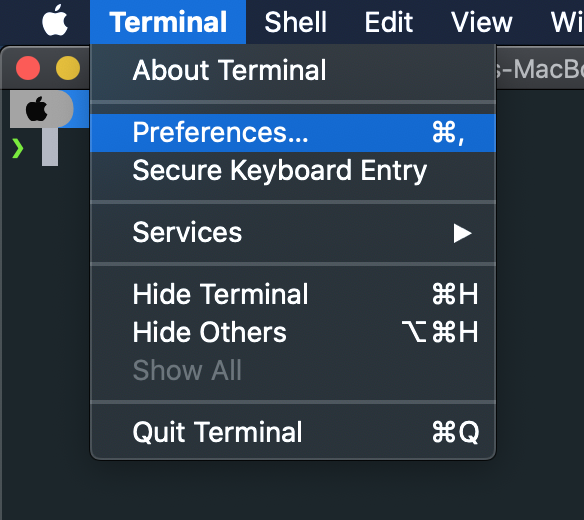
Now select your theme whatever you want and then click on the Font Change Button and search for FuraMono, just select it and close the window.

After that make sure you have made your theme to default and restart your terminal. If you want more themes you can download here MacOS Terminal Themes.
There are many themes just double click to change what you like. I really liked the Ocean Material and Pencil Dark, make sure you make those default and change the fonts.
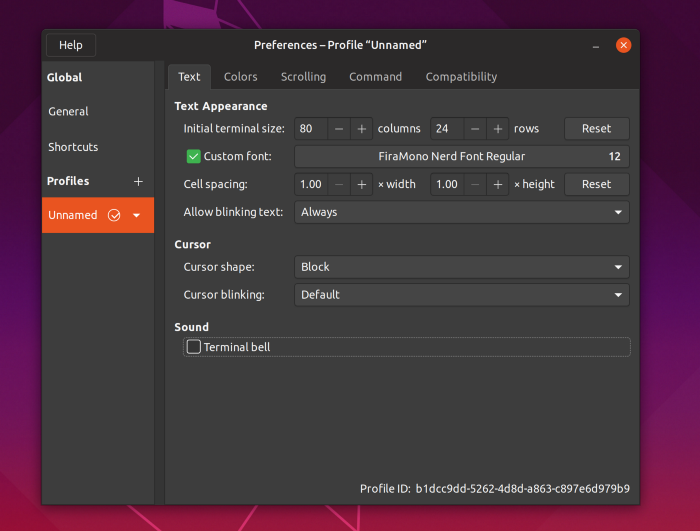
For Linux users
You will also have to go to preferences of your terminal and change to the custom font which you installed. If it doesn’t shows up you can try this.
You can set any font using dconf (e.g. in dconf-editor), under /org/gnome/terminal/legacy/profiles:/:<profile-id>/font.
If you like you can also change the themes.
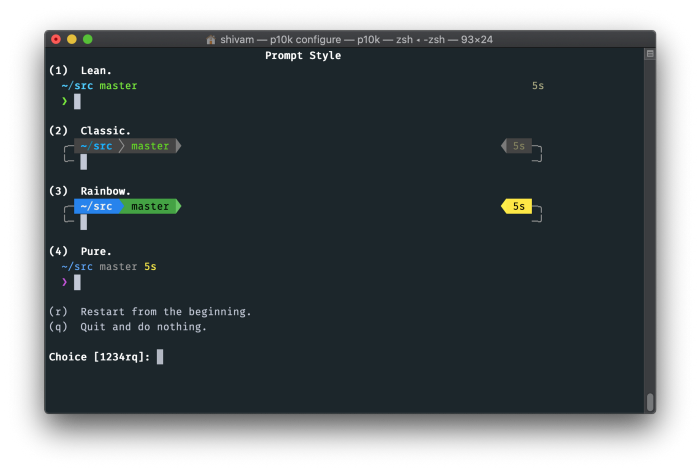
Now the last step
You will need to run p10k configure command to setup your terminal looks. Just follow the steps which you see on screen. In the last select option 3 which is verbose and then hit Y
If you use VS code terminal then you will also have change the fonts. So just go to setting and search for terminal.integrated.fontFamily and add FuraMono Nerd Font . Restart and you are done :)

Fixing permission errors in ZSH
If you are getting any error like
[oh-my-zsh] Insecure completion-dependent directories detected:
lrwxr-xr-x  1 rafael  admin  88 Apr 28 15:51 /usr/local/share/zsh/site-functions/_brew_services -> ../../../Homebrew/Library/Taps/homebrew/homebrew-services/completions/zsh/_brew_services
[oh-my-zsh] For safety, completions will be disabled until you manually fix all
[oh-my-zsh] insecure directory permissions and ownership and restart oh-my-zsh.
[oh-my-zsh] See the above list for directories with group or other writability.
Then just open your ~/.zshrc file again
micro ~/.zshrcand add this line before the # Path to your oh-my-zsh installation.
ZSH_DISABLE_COMPFIX=trueSo it will look like
# Path to your oh-my-zsh installation.
ZSH_DISABLE_COMPFIX=true
export ZSH="/Users/shivam/.oh-my-zsh"
Restart your terminal and everything should be fixed.
'Study > Linux' 카테고리의 다른 글
| Linux 사용자 루트 권한 주기 (0) | 2022.04.11 |
|---|---|
| Git 원격 브랜치 가져오기 (0) | 2022.02.19 |
| [Linux] 리눅스 터미널로 파일/디렉토리 복사하기 / CP 사용법 (0) | 2022.01.29 |
| 리눅스 라이젠 벽돌(프리징) Linux Ryzen Freezing 현상 (0) | 2022.01.21 |
| 리눅스 설치 후 개발 Setting 하기 (0) | 2022.01.20 |

|

|

|

|

|